Grid
Grid is a viewer for tabular data. Think Excel on steroids.
Certain features and functionalities described in this article are part of the PowerGrid package. For a complete experience, we recommend installation.
Controls
Select | |
| Select all rows | Ctrl+A |
| Select rows | Shift+Mouse Drag |
| Deselect rows | Ctrl+Shift+Mouse Drag |
| Select columns and rows | Mouse Drag rows |
| Select columns | Shift+drag column headers |
| Select columns | Ctrl+click column headers |
| Deselect columns | Ctrl+Shift+click column headers |
| Invert column selection | Ctrl+click |
| (De)select rows | (Ctrl+) Shift + ↑↓ |
| (De)select columns | (Ctrl+) Shift + ←→ |
| (De)select rows | (Ctrl+) Shift + mouse-drag |
| (De)Select rows with the current value | (Ctrl+) Shift + ENTER |
| Select rows above current | Ctrl + Shift + Home |
| Select rows below current | Ctrl + Shift + End |
Navigate | |
| Navigate | Up, Down, Left, Right |
| Navigate | Page Up, Page Down |
| Jump to first row | Ctrl+Home |
| Jump to last row | Ctrl+End |
| Jump to first column | Home |
| Jump to last column | End |
| Prev / next selected row | Ctrl + ↑↓ |
| Show in full screen | Alt+F |
Sort | |
| Sort a column | Double-click column header |
Edit | |
| Edit cell | Double-click |
| Copy cell value | Ctrl+C |
| Paste into cell | Ctrl+V |
Add a row (requires Allow Edit set to true) | Enter or click the plus (+) icon in the bottom row |
| Undo | Ctrl+Z |
| Redo | Ctrl+Shift+Z |
| Delete selected rows and/or columns | Shift+Del |
Resize and reorder | |
| Reorder columns | Drag the column header. Selected columns are repositioned simultaneously next to each other |
| Resize columns | Drag the right border of the column header. Selected columns are resized simultaneously |
| Resize row height | Drag the border of the row header |
Column properties | |
| Open | F2 |
Rows and columns
You can access available options for rows, columns, and cells in a number of ways:
- From an object's context menu (right-click to open)
- From the Top Menu options and icons
- For the current object, from the Context Panel
- For columns, by clicking the Hamburger (≡) icon (hover over the column's header to display)
From there, you can change the cell format, color code a column, pin rows, and do more. For shortcuts, see Controls.
Rows
Grid rows have different states:
- Selected (highlighted in orange)
- MouseOver (on hover, highlighted in light blue)
- Current (click or navigate using the up (↑) and down (↓) keys, highlighted in green).
- Filtered
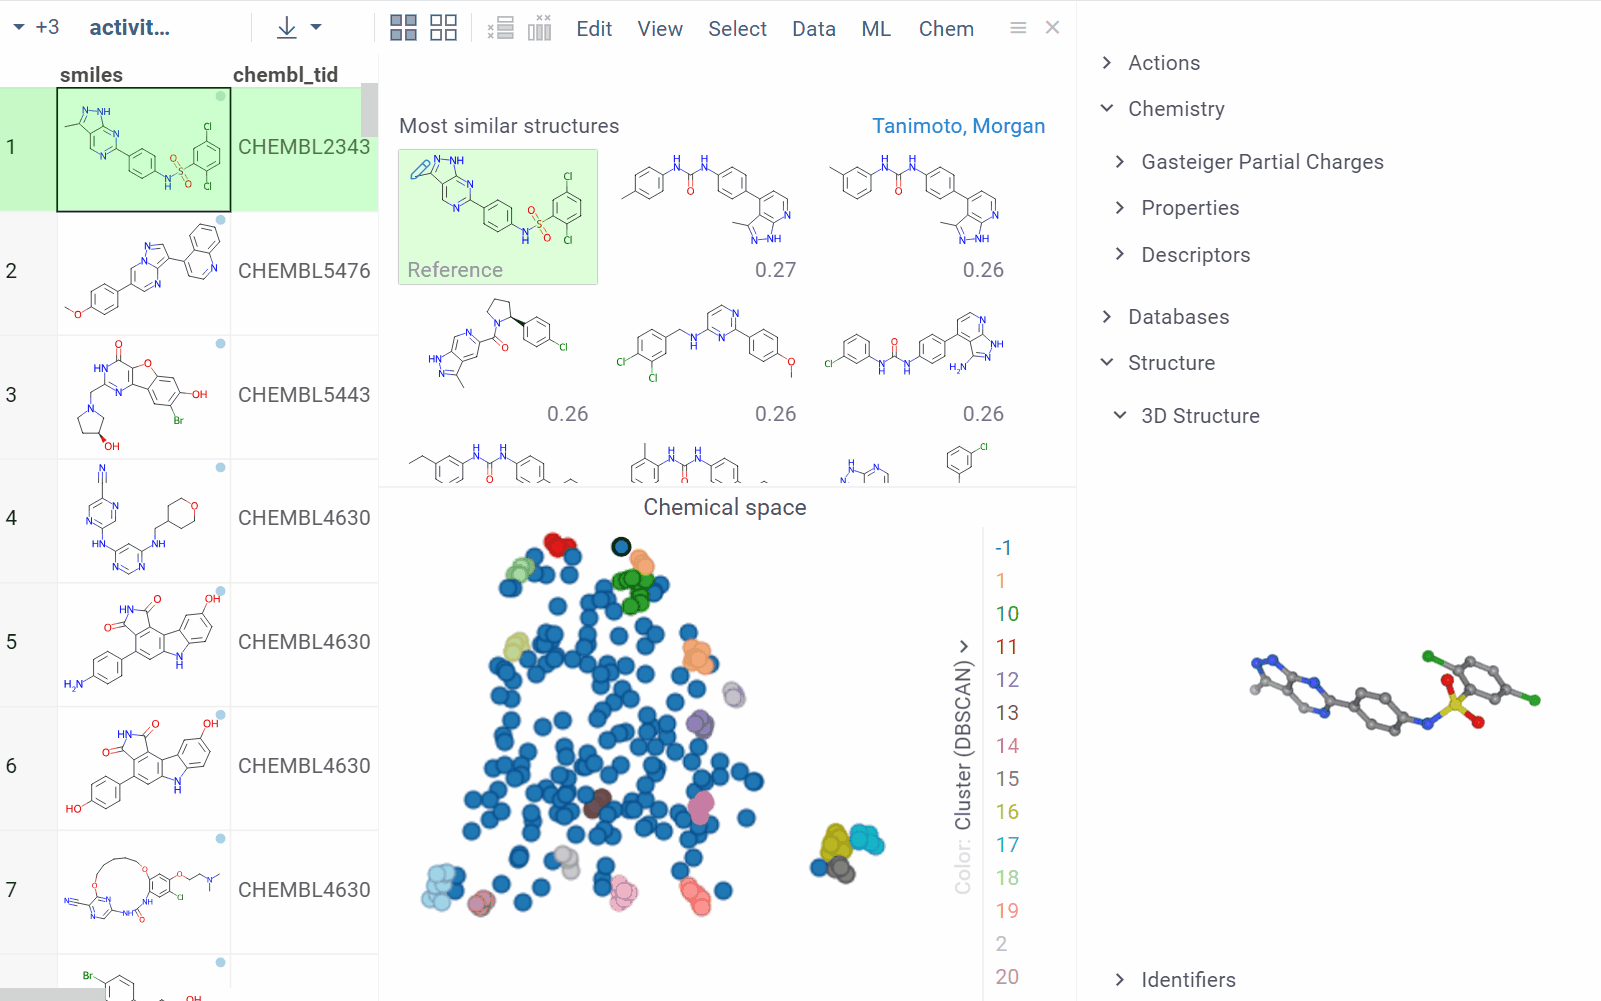
These states are synchronized with other viewers, making it easy to explore your data. For example, moving between rows in the grid updates both the current molecule on a scatterplot and similar molecules in the similarity viewer. The same works in reverse. Clicking a molecule on a scatterplot or a similarity viewer updates the current row in all other viewers, including grid.
To further aid with data exploration, the Context Panel dynamically updates to show info panes specific to the current molecule.
Columns
Unlike Excel, cells within a grid column are assigned one of the
predefined data types: string, int, bigint, qnum, double, datetime,
or bool. Additionally, a column may have tags, a
semantic type (e.g., Molecule), and an
entity type, which lets you
annotate specific data points with custom metadata.
To edit column settings, either right-click the column's header to access its context menu or click the column's header to display available options in the Context Panel.
Subject to permissions, you can:
- Change the column's properties (e.g., it's data type or cell renderer)
- Customize the column's appearance or behavior (e.g., change the cell's format, color-code values, pin rows, etc.)
- Specify who can edit a column. Users without edit permissions will receive a notification when attempting to edit a restricted column.
Column properties
| Property | Description |
|---|---|
| New name | New column name |
| Visible | Allows to hide column |
| Is Color Coded | Enable/Disable column color coding |
| Show Value | Allows to do not show values on color coded column |
| Width | Column width, in pixels |
| Background Color | Background Color, 32 bit integer |
| Decimal Places | Decimal Places |
| Custom Name | Custom name, original will be saved |
| Column Name | Column Name |
| Custom Format | Custom Format |
| Cell Type | Cell Type |
- Navigation
- Repositioning
- Profiling
For quick navigation, preview, or batch actions, use the Column Manager. To open, on the Status Bar, click Columns:
To quickly move a column to the beginning or end of your dataset, click the column's header and start dragging. The arrows appear. Drop the column onto an arrow to adjust its position in the spreadsheet.
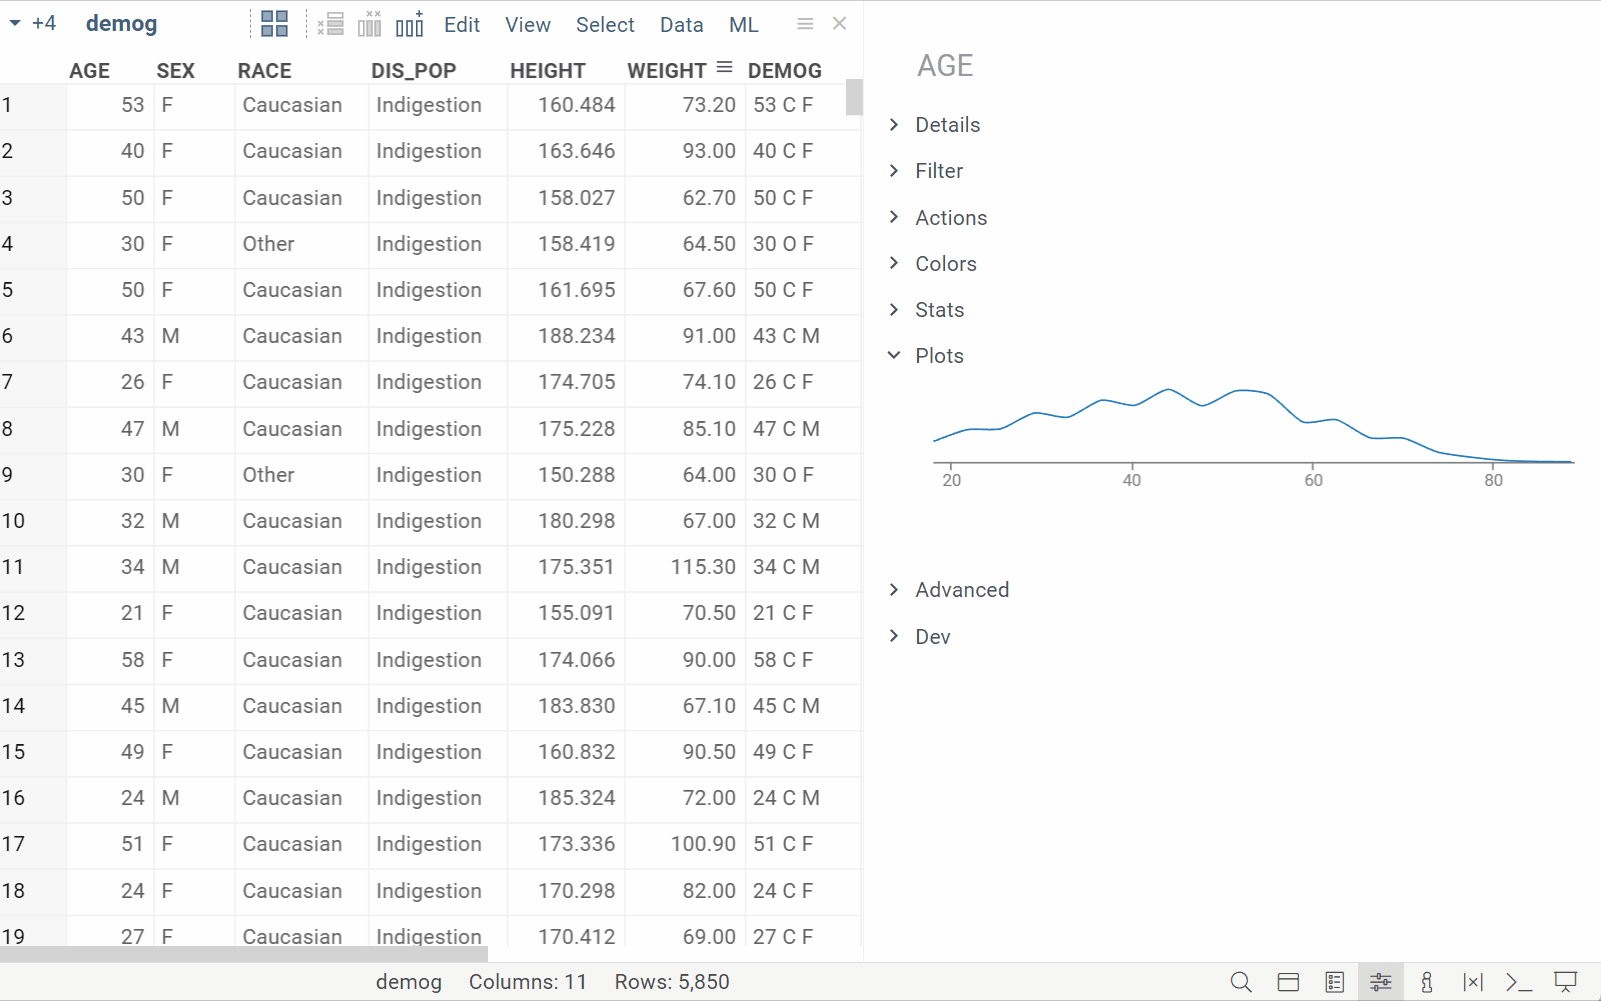
For quick profiling, use the Plots info pane. Simply select columns, and their content is automatically visualized in the Context Panel.
Cells
You can customize the display of cell data using cell renderers. Grid cells can also contain values from multiple columns or linked tables, and display embedded images.

Cell renderers
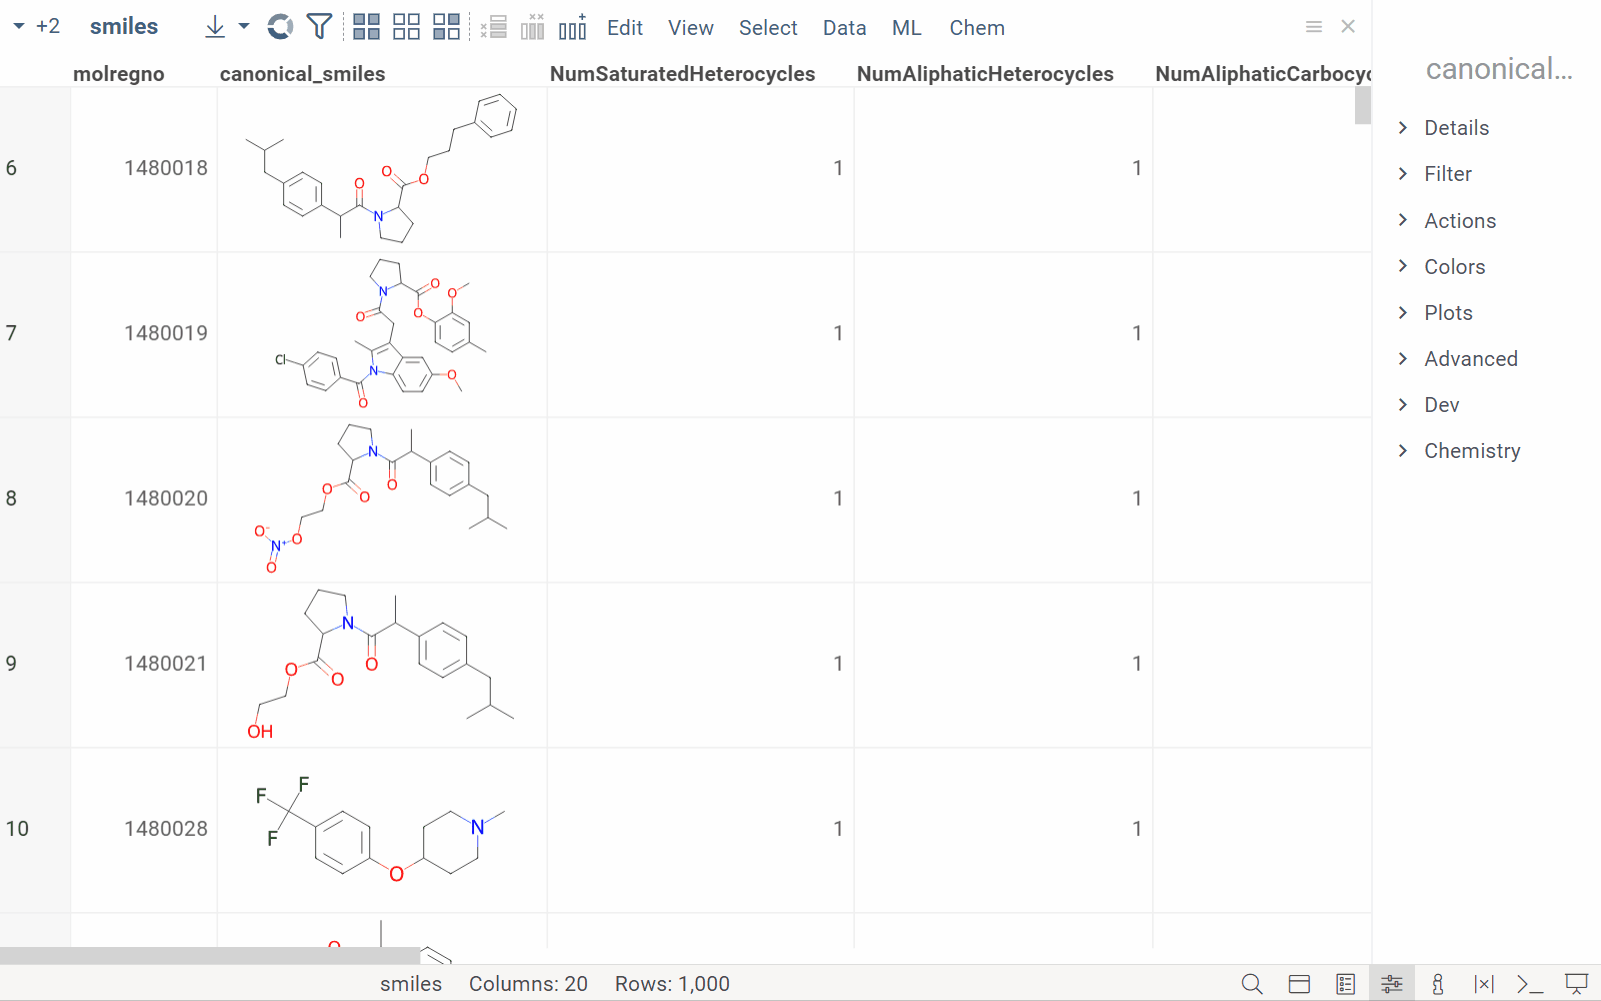
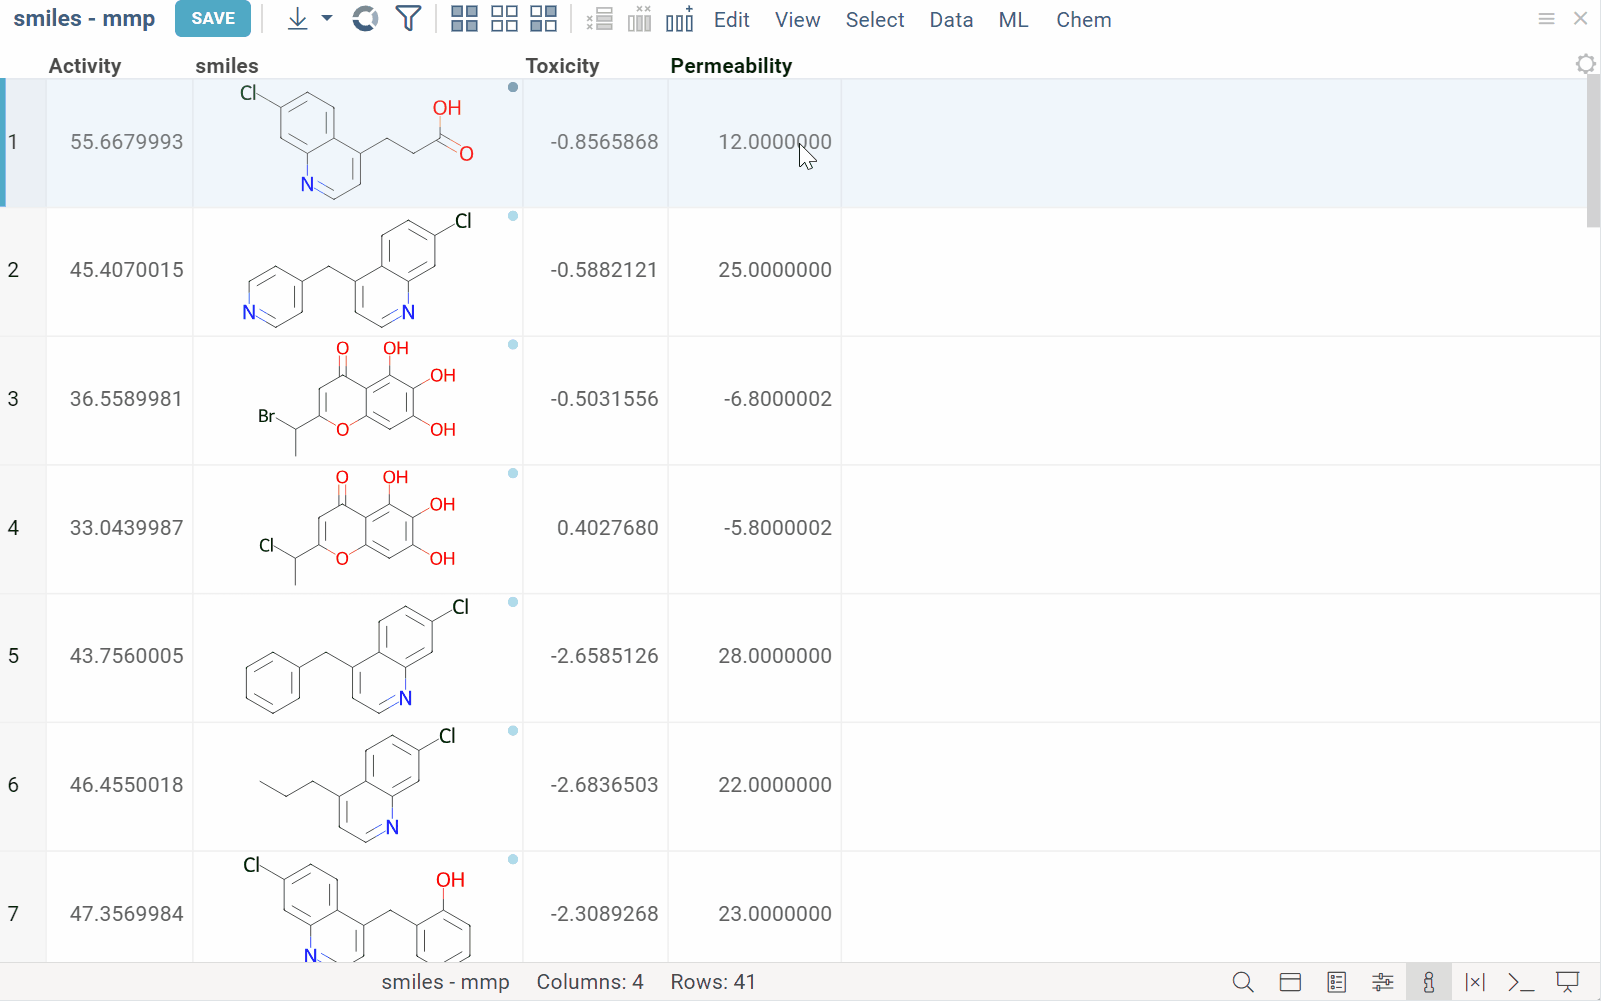
Cell renderers customize how cell data is shown. For instance, molecules in SMILES notation may be rendered in 2D. For specific semantic types, such as molecules or URL images, cell renderers are applied automatically.
To apply a cell renderer manually:
- Right click the column header and select Column properties.... A dialog opens.
- In the dialog, set the tag key to
cell.rendererand the tag value to the desired cell renderer name (e.g.,Tags).
Note: Some cell renderers may require additional parameters.
- Click OK.
Examples of built-in renderers include molecules, URL based images, fit lines, comboboxes, and more.
Summary columns
Summary columns show data from multiple columns within a row. To simply display data from multiple columns, use smart forms. To visualize numerical data, use sparklines. To design a custom form, use forms.
- Smart forms
- Sparklines
- Forms
Smart forms show values from multiple columns within a single cell. They inherit color-coding and cell renderers from the source columns, and their content dynamically adjusts to fit the cell size.
To add a smart form, right-click a cell and select Add > Summary Columns > Smart Form. To change selected columns for the summary column, click its header and choose the columns you want in the Context Panel under Renderer.

Sparklines use charts to visualize numerical values within a row, offering a quick way to compare rows visually. Supported summary column types:
- Sparklines
- Bar Chart
- Radar
- Pie Barchart
To add sparklines, right-click a cell and select Add > Summary Columns, then choose your preferred option from the menu. To change selected columns for the summary column, click its header and choose the columns you want in the Context Panel under Renderer.

To show data from multiple columns, you can design a form:
- Right-click a cell, select Add > Forms > Design a Form.... This opens a form viewer.
- In the form viewer, column names and values are shown as individual components that you can edit. Design your form with clicks and drags.
- Once done, click the CLOSE AND APPLY button to add the form as a column to your dataset.

Data from linked tables
You can display data from one linked table within another. For example, you may want to show order details alongside customer orders.
Here's how:
- Link the tables.
- Right click any cell, select Add > Linked Tables, and choose the table you want. A column with data from the linked table is added to your dataset.
Images
Datagrok supports two types of images in cells: embedded and linked. Supported formats are .jpg, .png, and .jpeg.
To embed an image, double click a cell and select the source file.

For linked images, Datagrok automatically detects and visualizes images saved as URLs (those starting with "http://" or "https://", and ending with one of the supported image formats) using a cell renderer.
Troubleshooting
If images are not detected automatically, right-click the column header and select Column Properties. This opens a dialog. In the dialog, under Tags, set the following parameters:
qualitytoImageUrlcell.renderertoImageUrl.
Working with data
Subject to permissions, you can add, delete, or modify records in your dataset. In addition, the Top Menu provides multiple options for data cleaning and transformation. For example, you can add calculated columns, impute missing values, delete duplicates, and more.
To learn more about data transformation, visit the Transform section of our documentation.
In addition to actions directly on your table's data, you can augment your dataset with additional information. You have these options:
-
Use built in tools from the Top Menu. For example, for molecules, you can add a column with descriptors via Top Menu > Chem > Calculate > Descriptors...
-
Add columns using info panes
How to add
You can add the content of most info panes as a column.
To add the entire info pane, click the Add new column (...) icon next to the info pane's name. To add a specific calculation or object within an info pane, click the plus (+) icon next to the object or calculation you want to add.

Filtering
To toggle filters, in the Top Menu, click the filter icon.

The Filters Panel is a viewer. Learn more about filters.
How To
Format cells
To change a cell's format:
- Right-click the column's header and select Format. Alternatively, right-click a cell and select Current column > Format.
- Select the format you want from the options provided or set a custom format by choosing the Custom... option.
See:
- Formatting notation for dates and numbers
- Formatting via JS API
Add rows and columns
To add a new row, either click the plus (+) icon after the bottom row in your dataset. Alternatively, go to the Top Menu and select Edit > Add rows... This opens a dialog where you can specify the number of rows to add, as well as their position relative to your current row.
To add a new column:
- In the Top Menu, click the Add New Column... icon. This opens a dialog.
- In the dialog, specify the column's name and data type and click OK.
- An empty column is added to the dataset.
- Optional. To specify a column's semantic type, tags, or cell renderer, use the column's properties.

Learn how to add calculated columns.
Pin rows and columns
You can pin rows and columns from the context menu. Pinned rows can be saved in projects and as layouts, using the column's name and cell value (for unique rows only).
To pin:
- Select rows or columns you want to pin.
- Right-click your selection and choose the relevant option from the Pin menu. Your selection is now pinned.
To unpin rows, select the Unpin option from the Pin context menu.

Color code columns
You can color code columns with these schemes:
- For categorical columns (
stringandbooldata types), "categorical" - For numeric columns, "conditional" or "linear"
- For
datetimecolumns, "linear"
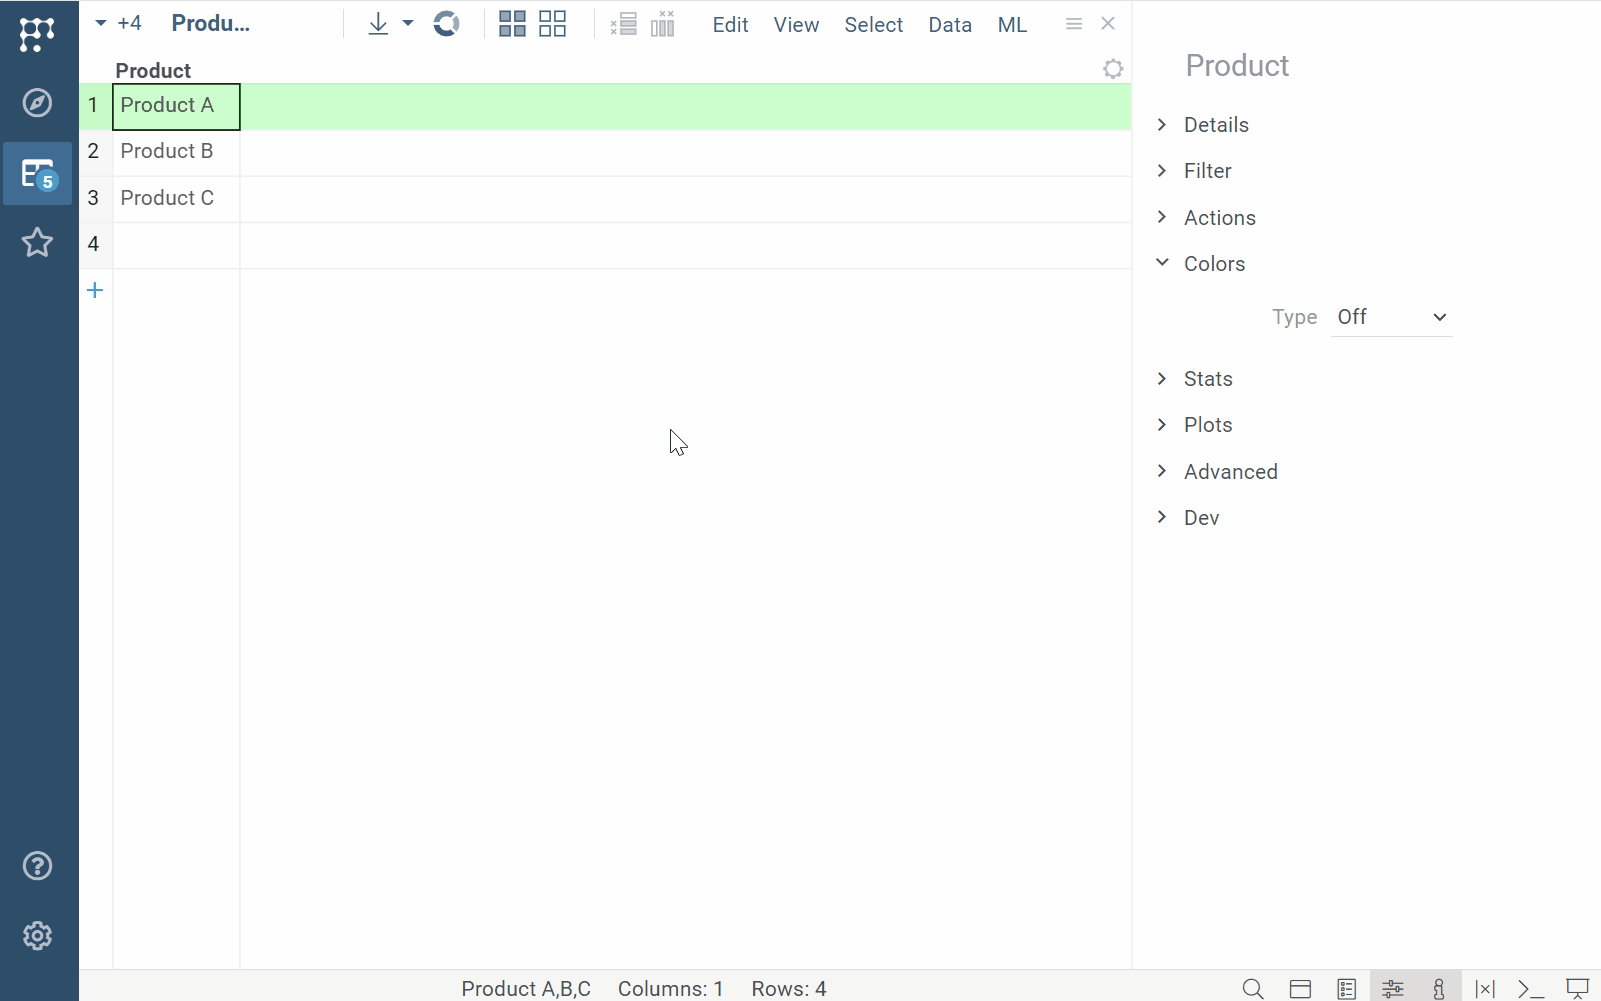
To color-code a column, right click its header and select the desired scheme from the Color Coding submenu. This applies color to the column's background. To customize color-coding settings, click the column's header and adjust them in the Context Panel under Colors.

To copy color coding from one column to others, use the Pick Up Coloring and Apply Coloring commands from the column's Color Coding menu. These commands copy both standard and custom color-coding, including the Off setting which removes color coding. Note that you can't transfer settings between numeric and categorical columns. The Apply Coloring command remains inactive if no color coding has been picked up. These settings are retained for a viewer instance but are not saved through layout serialization.
Show, hide, or reorder columns
To show, hide, or reorder columns:
- Right-click any cell and select Order or Hide Columns.... A dialog opens
- In the dialog:
- To hide a column, clear a checkbox next to the column's name. To show a column, select the corresponding checkbox.
- To reorder columns, drag column names or use the arrow controls
Resources

See also: